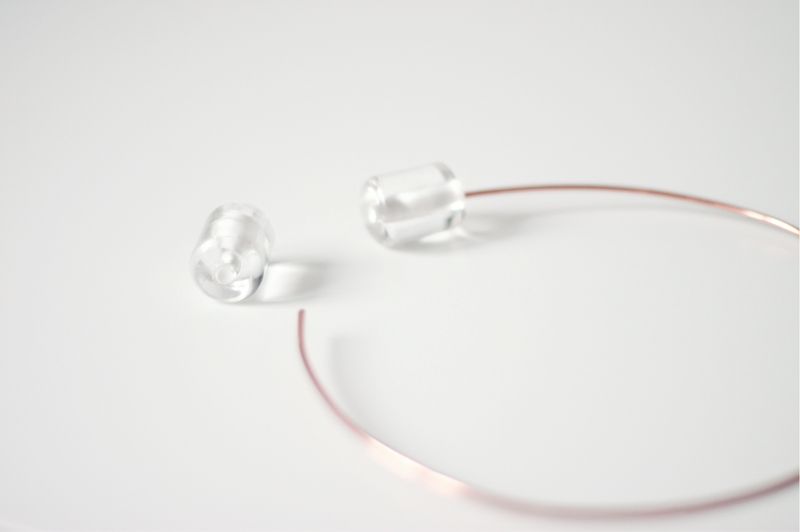
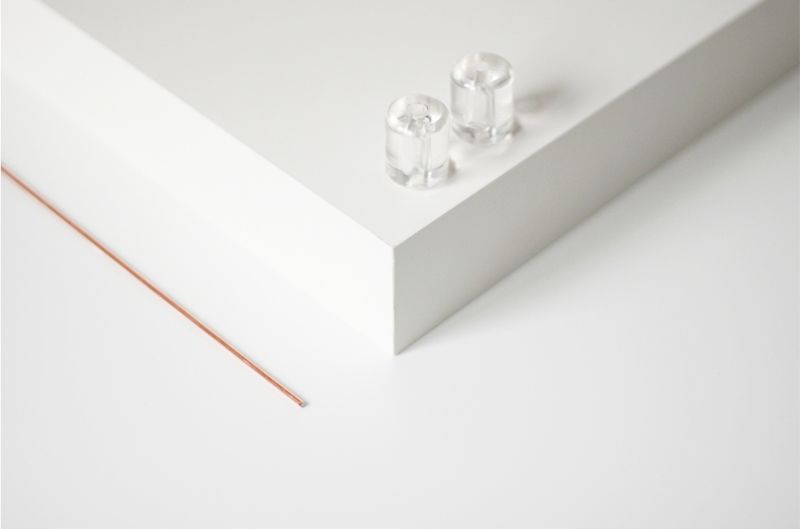
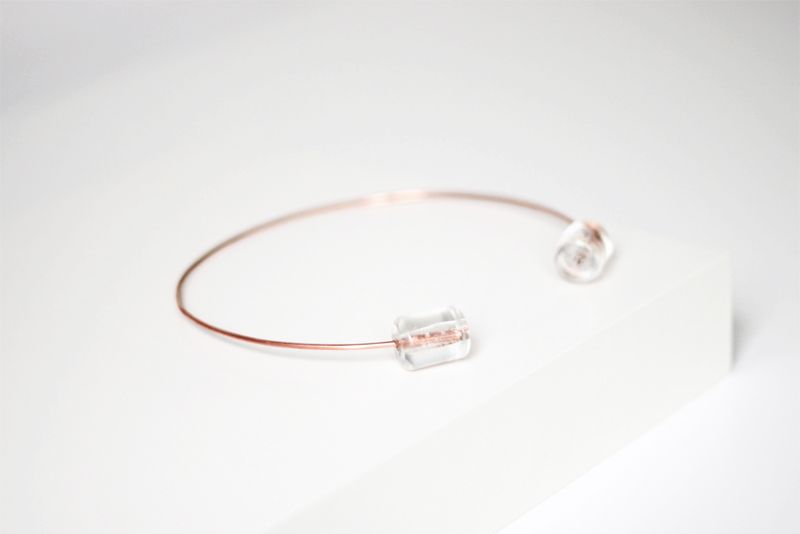
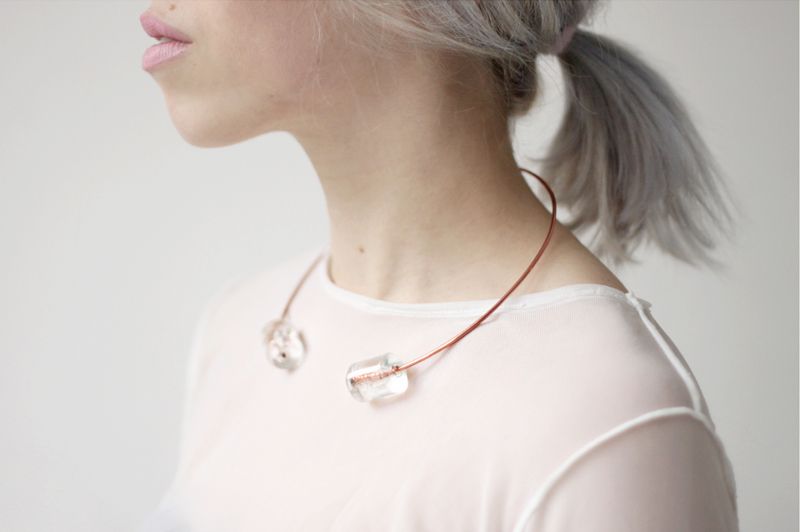
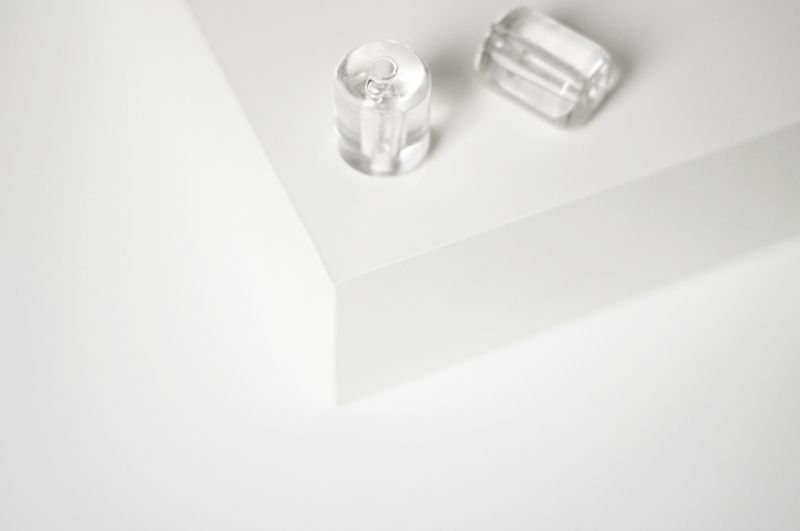
Hardware and clear plastic, delicate vs chunky. My cup of tea!
Although beads are quite a staple ingredient when you think of DIY, I honestly never really knew what to do with them as besides being decorative I didn't see a clear purpose for them. But when going through some old DIY supplies and coming across these two ice-cube lookalikes, suddenly I knew just how to put them to good use. Here's the super simple, 3 step instructions to my double beaded, rose gold choker necklace.
1/ Measure how long you want the choker to be by putting a measuring tape around your neck. keep in mind that the opening should be around as wide as your neck so you can still can take off the necklace.
2/ Cut the metal bar to the right length and bend it around something round. I used a can of paint.
3/ Fill the beads with glue and put the ends of the copper bar through them. Let them dry and you're all done!
need
/ thin copper bar
/ two beads
/ super glue (clear)
/ pair of pliers
/ thin copper bar
/ two beads
/ super glue (clear)
/ pair of pliers

325 comments:
«Oldest ‹Older 401 – 325 of 325Post a Comment